
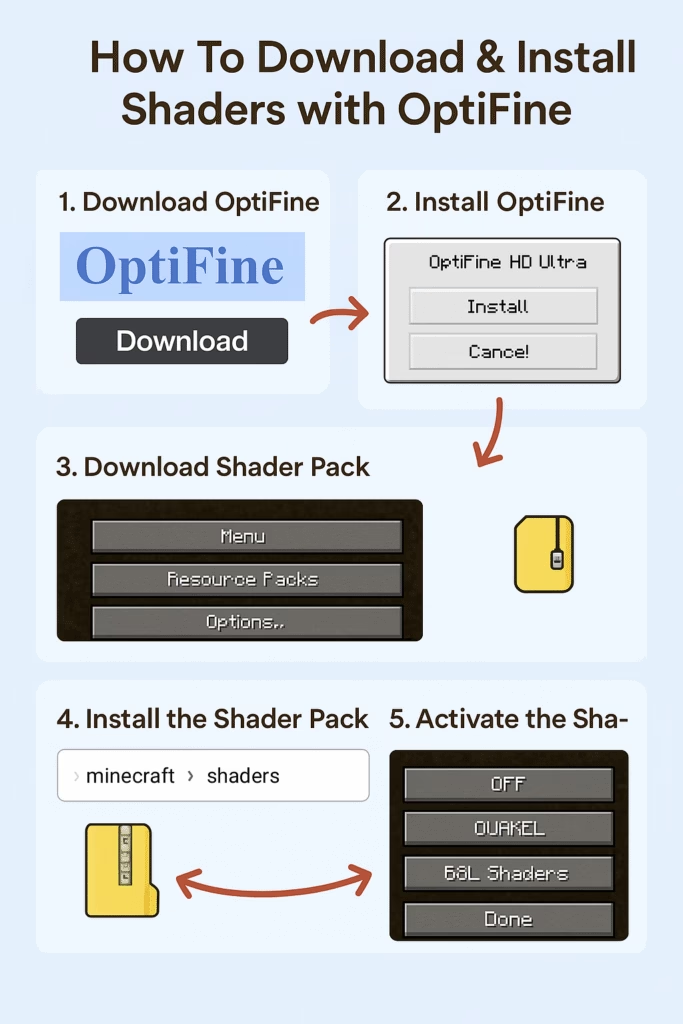
Here’s a step-by-step guide to download and install shaders in Minecraft using OptiFine. I’ll include a simple diagram at the end for clarity.
Step 1: Install OptiFine
Shaders require OptiFine to run.
- Go to OptiFine Official Website.
- Download the version of OptiFine that matches your Minecraft version.
- Run the
.jarfile and click Install. - Open Minecraft Launcher → Select the OptiFine profile → Click Play.
Step 2: Download a Shader Pack
Shader packs change the graphics in Minecraft.
- Popular shader sources:
- Download the
.zipshader pack (do not unzip it).
Step 3: Locate the Shaders Folder
- Open Minecraft → Options → Video Settings → Shaders → Shaders Folder.
- A folder will open. This is where you put all
.zipshader packs.
Step 4: Install the Shader Pack
- Drag and drop the downloaded
.zipshader file into theShadersfolder. - Close the folder.
Step 5: Activate the Shader
- Back in Minecraft → Options → Video Settings → Shaders.
- You should see your shader pack listed.
- Click on it → Done → Wait a few seconds for it to load.
- Enjoy your new shaders in-game!
Tips
- Shaders can be demanding; reduce render distance or settings if lag occurs.
- Always download shaders from trusted sources to avoid malware.
- Some shaders require Minecraft Forge or specific OptiFine versions.
Quick Diagram


